AdBlocker Detected !

It Seems That You Are Using An Ad Blocker/VPN/Proxy/Custom DNS. Please Consider Disabling It To Support Our Website.

Note : Brave Browser Is Not Supported On Our Website.
Once Youre Done, Refresh The Page.

Skip to content
TQ Tech

TQ Tech

  • Home
  • Guides
  • About Us
  • Contact us
TQ Tech
TQ Tech
TQ File Manager – Termux Setup Guide
TQ File Manager Logo
Step-by-Step Guide

How to Connect Termux to TQ File Manager

Grant folder access and browse your Termux home directory directly from TQ File Manager — in just 4 easy steps.

Before You Start Make sure Termux has been opened at least once after installation. TQ File Manager needs the Termux home folder to be initialized before it can connect. If you haven’t opened Termux yet, launch it, wait for setup to complete, then come back here.
Setup Steps
1

Open TQ File Manager & Tap on Termux

Home Screen → Storage Section
TQ File Manager Home screen showing Termux option
👆 Action Required

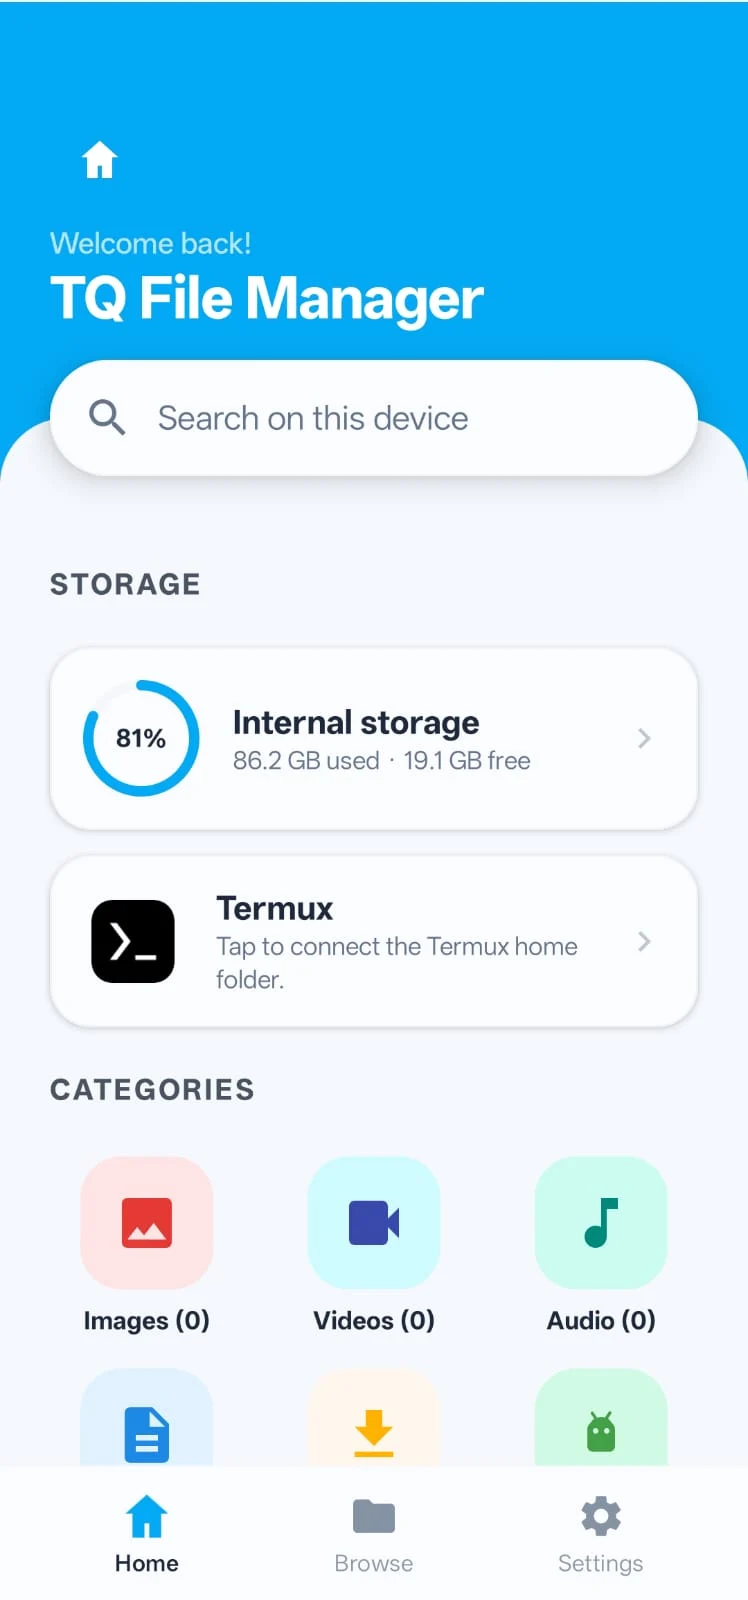
Launch TQ File Manager. On the home screen, scroll down to the Storage section. You’ll see a Termux entry with the message “Tap to connect the Termux home folder.”

Tap on it to begin the folder access setup process.

💡 If the Termux entry is missing, make sure the Termux app is installed and has been opened at least once.
2

Select Termux from the “Open From” Panel

Side Drawer → Choose Storage Source
Open From side panel with Termux option
👆 Action Required

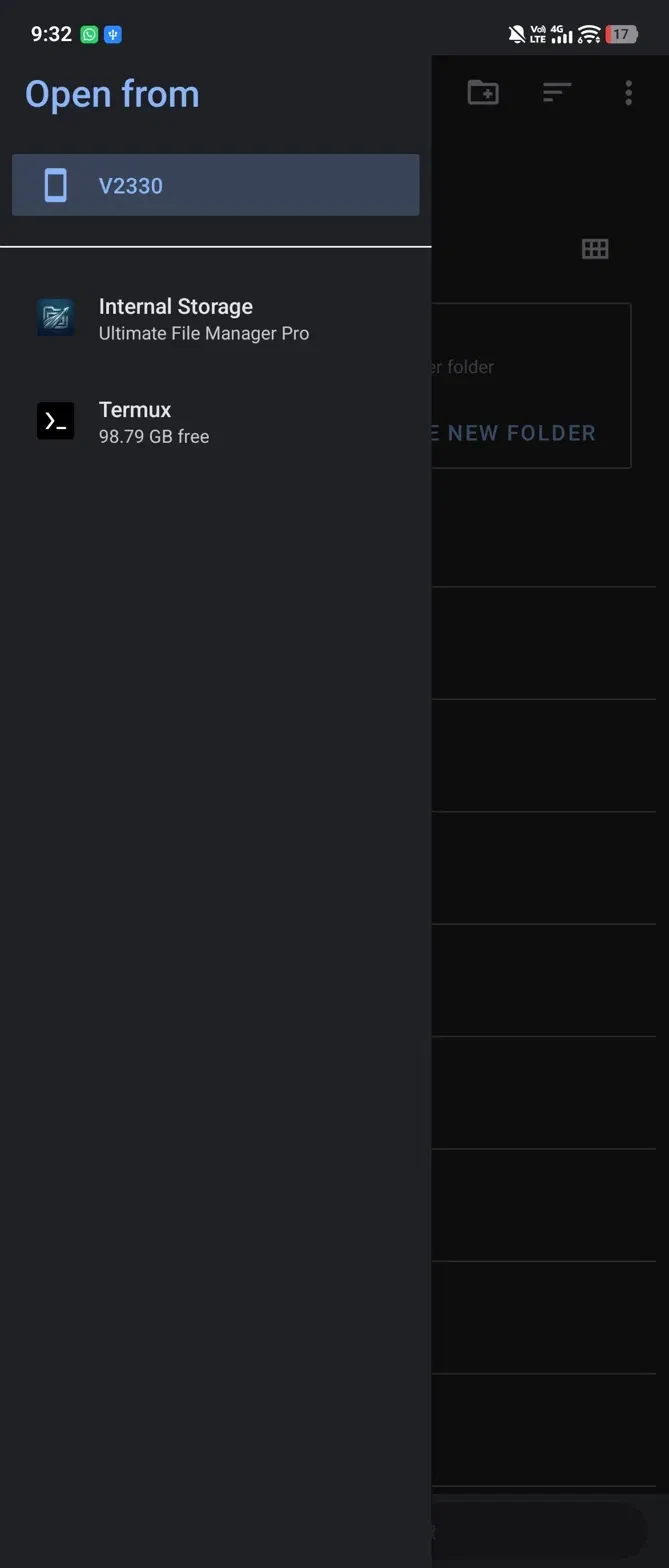
A side panel labeled “Open from” will slide in. You’ll see two options: Internal Storage and Termux.

Tap on Termux (showing 98.79 GB free in the example) to navigate into the Termux file system.

💡 Don’t select “Internal Storage” — that’s your phone storage, not Termux’s private home folder.
3

Tap “Use This Folder” to Confirm

Termux File Browser → Confirm Selection
Termux folder view with Use This Folder button
👆 Action Required

You’ll now see Files from Termux, typically showing a .config folder. This confirms TQ File Manager has found your Termux home directory.

Tap the “USE THIS FOLDER” button at the bottom of the screen to grant permanent access.

💡 Only the .config folder may appear at this stage — that’s normal. Your full Termux directory will load after you grant permission.
4

Allow TQ File Manager to Access Termux

Permission Dialog → Tap Allow
Permission dialog to allow TQ File Manager access Termux
✅ Final Step

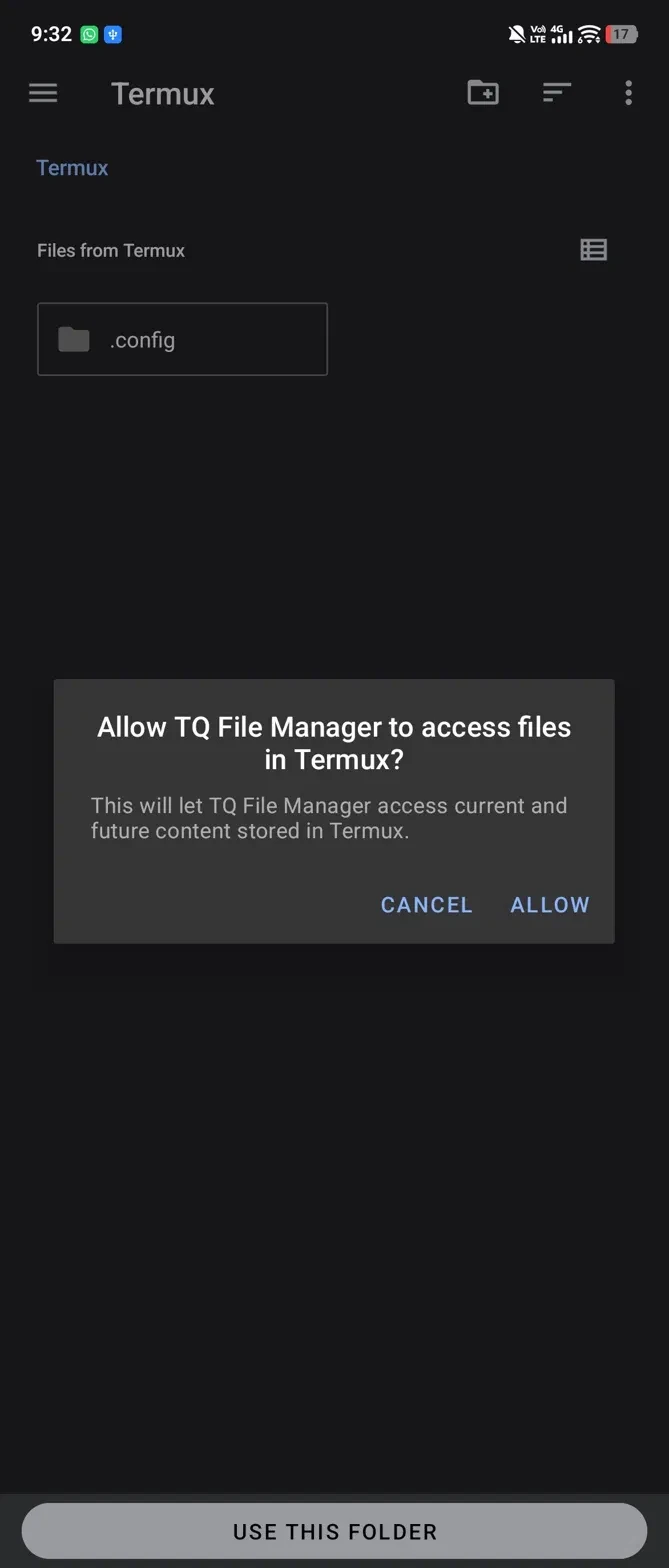
Android will show a permission dialog: “Allow TQ File Manager to access files in Termux?”

Tap ALLOW. This grants TQ File Manager access to all current and future content stored in your Termux home folder.

⚠️ If you tap Cancel, access will be denied and you’ll need to repeat the process from Step 1.
🎉

You’re All Set!

TQ File Manager can now browse, manage, and edit files inside your Termux home directory. Navigate to the Termux section anytime from the Storage panel on the home screen.

© Copyright 2026 » TQ Tech

  • Privacy Policy
  • About Us
  • Disclaimer
  • Contact us
  • DMCA Copyright
Scroll to top
  • Home
  • Guides
  • About Us
  • Contact us